Monday, September 10, 2012

Homemade Granola

Granola cooling on the Silpat liner

I make this about once a week. It's pretty much the only cereal my husband and I eat. I have made it for friends as gifts, and brought it traveling. It's always a hit. I hope you enjoy it as much as we do.

Pre-heat your oven to 300

Ingredients:
  • 4 1/2 cup extra thick rolled oats (I use Bobs Red Mill and use 1/2 the package)
  • 1/3 cup canola oil, or coconut oil
  • 1/2 cup honey
  • 1/4 cup flax seeds
  • 1/2 cup whole raw almonds, 
  • 1/2 cup whole raw pecans
  • 1/2 cup whole shelled pistachios, roasted but not salted
  • 1/2 cup pepitas
  • 1TB ground cinnamon
  • 1 tsp ground ginger
  • 1/2 tsp ground cloves
  • 1/2 cup dried cherries 
Directions:
In a large bowl mix together the oats, the nuts, and the spices. Then pour in the oil, if you use coconut oil you have to soften it in the microwave so it's liquid. I then use the same measuring cup to measure the honey. The oil makes the honey slide right out. Spread mixture out on a greased baking sheet. I use a Silpat to line mine, which is a handy thing for a cook to have. It's made of silicone and nothing sticks to it. Bake in the oven for about 25 minutes. Check it to make sure the granola doesn't get too brown. Everybody's oven is a bit different. When lightly browned pull it out to cool. I then add my dried cherries or other dried fruit. When it's completely cool you can bag it up. It also freezes well for a future date. 

This recipe is one that you can substitute any kind of nuts and seeds. I always buy raw and unsalted because you are roasting it and seasoning it up. Any dried fruit works well too, but don't cook it, it gets hard and chewy. I do put coconut in, but always use unsweetened. Bobs Red Mill makes some if you're looking for it. Don't use angel flake it is loaded with sugar and really moist which makes your granola chewy when in a container. 


Strawberry Rhubarb Rosemary Jam

Lovely jars of Jam 
I was inspired by the Tom Douglas Bakery that we have in downtown Seattle. They serve freshly made doughnuts in a bag with rhubarb jam and some kind of vanilla cream delight. These are one of the best things I have ever put in my mouth. They are like cinnamon puffs of air. Delish! Anyhow, let me stop dreaming about them and focus. This is my recipe for Strawberry Rhubarb Rosemary Jam.

Ingredients:

  • 4 1/2 cups diced rhubarb
  • 4 1/2 cups chopped organic strawberries
  • 2 TB fresh lemon juice
  • pat of butter to reduce the foaming
  • 7 cups of organic sugar
  • 2 packages of Sure Jell reduced sugar recipe pectin
  • 3-4 7"long sprigs of rosemary
  • 6 Pint jars with lids and rings or 12 1/2 pints
Directions:
I get my canning pot ready and set the water boil. I wash my jars and rings in hot soapy water. I boil water in my tea kettle and then pour over my lids to sit and wait until needed. Now I'm ready to start cooking. 

Place the rhubarb, strawberries, rosemary sprigs (whole), lemon juice, and butter in a large kettle with a heavy bottom. I measure out my sugar and then mix about 1/4 cup with the pectin, then stir it into the pot with the rest of the ingredients. Don't add the rest sugar yet! On a medium heat, I bring everything to a boil and then slowly add the sugar. Stirring continually, I wait for the mixture to come to a full rolling boil. ( This is where is still is bubbling even when you are stirring ) Pull out the rosemary sprigs and toss. 
When you get to this point it's time to fill your jars. I use a jelly funnel and fill each to about 1/4 inch from the top. Make sure the rim is clean of any jam with a moist paper towel, and top with a lid and ring. Screw on, but not too tight.
Place jars on the canning rack in your canning pot and lower into the hot water. I process mine for 15 minutes. Not sure where I got that number, but it works for me. Seattle area is at sea level and that has something to do with, but I forgot my logic in this. Anyhow, when the time is up raise the rack and use your handy canning jar tongs to lift out the jars and set them on a kitchen towel, about 2" apart, to cool. Now you will hear the best thing ever. The popping of the lids! Thwump! Thwump! This lovely sound means that the lids are sealed. If a jar doesn't pop that just means that you get to put the jam in your fridge and enjoy even sooner. 
For those of you that have never canned, it's super easy. You can buy a canning kit. It has the big black pot and  the rack. I also got a canning jelly funnel, which has a wide mouth, and a canning jar tongs which are handy for lifting heavy boiling hot jars. I got all my first recipes and ideas from Joy of Cooking. The packages of Sure Jell have recipes in them too. I always use the low sugar Sure Jell, because I can't stand putting all that sugar into my recipe. I also get ideas off the internet, but I like to free style a bit and change them up and mix-mash them to what I think works better. This recipe is a result of that. I hope you enjoy!

Wonderful Strawberry Balsamic Ice Cream


2 Cups Fresh Strawberries
Ingredients
  • 2 cups organic strawberries, rinsed, de-stemmed, and chopped up
  • 1/2 cup sugar
  • 3TB balsamic glaze from Trader Joe's 
  • 1 1/2 cup heavy cream
  • 1/2 cup sour cream

Directions
This is a very easy recipe. You don't have to make a custard and temper the mixture. The balsamic is subtle and just adds a touch to the flavor of the strawberries. 

Mix the strawberries with the balsamic glaze and the 1/2 cup of sugar. Let it set in the fridge for at least a hour. (I do mine at night and make the ice cream next day.)

Mix the strawberries with the cream and the sour cream and put in the bowl of an ice cream maker. Follow the directions for your ice cream maker. 

Trader Joe's Balsamic Glaze It's good on everything!

Strawberry Balsamic with chunks!
This would be really good processed in a blender so there aren't any chunks and strained through a fine mesh sieve. Then stir in finely grated dark chocolate at the last minute when the ice cream is almost done in your machine. The Italians call that stracciatella. It would also be good with Frangelico (2-3 TB) soaked with the berries. Mmmn delish! The liquor would also lower the freezing point so it's not too hard.


This one is blackberry ice cream but I wanted you to see what stracciatella looks like -See the bits of dark chocolate. My husbands favorite!
 I use a Cuisinart Ice Cream machine, and I keep the ice cream bowl in the freezer so it's always ready to go. I also always use organic ingredients, especially the strawberries. I think it tastes better in general, and I try to get thin skinned fruits and veggies organic. Following the "dirty dozen" rules. Once my 4 year old asked me, " So a little bit of poison is okay?" I didn't have a good answer to that one. Anyway, it's hard to afford to buy organic, so I stick to the things that count in my mind, being dairy, meats, and thin skinned fruits and veg. 

Tuesday, July 17, 2012

A Little Garden Inspiration

A bit of Peace
I thought I'd share my garden. Maybe you are a gardener or aspire to be one. Maybe you just enjoy one without the work. 
Hopefully I can inspire. 

 I grew up with a mother who has a passion for gardening. When I was little she drug me to nurseries, iris shows, exhibits at the Solano County Fairgrounds, and various horticulture gardens. I said I'd never garden, but it must of seeped into my pores, because here I am digging in the dirt for peace, and getting excited over how many earthworms I have. 

Little me on the back of mom's Honda


Every year mom and I have a standing date to either the Seattle or Portland garden show. Coffee in hand we walk the isles getting inspired. I now drag my children to gardens pointing out the beauty and naming the plants. I hope you enjoy and maybe find a little inspiration in my first garden.


My hand painted welcome rock. I used a sharpie and my best writing. Drift wood from camp last year.


Zinc containers by the front door hold Lavender and Rosemary

I have lots of herbs planted in and around the plants. Oregano, chives, and thyme grow like weeds. I squeeze in a tomato or two and a wine barrel full of mint for mojitos. 


Let me take you down the garden path...


Mostly a bit of humor directed at my mother.


An old chair turned into a planter


My husband and I dug every hole and laid every stone. We are quite proud of how our garden path turned out.

Don't piss off the Fairies!
A handmade gift from my mom.


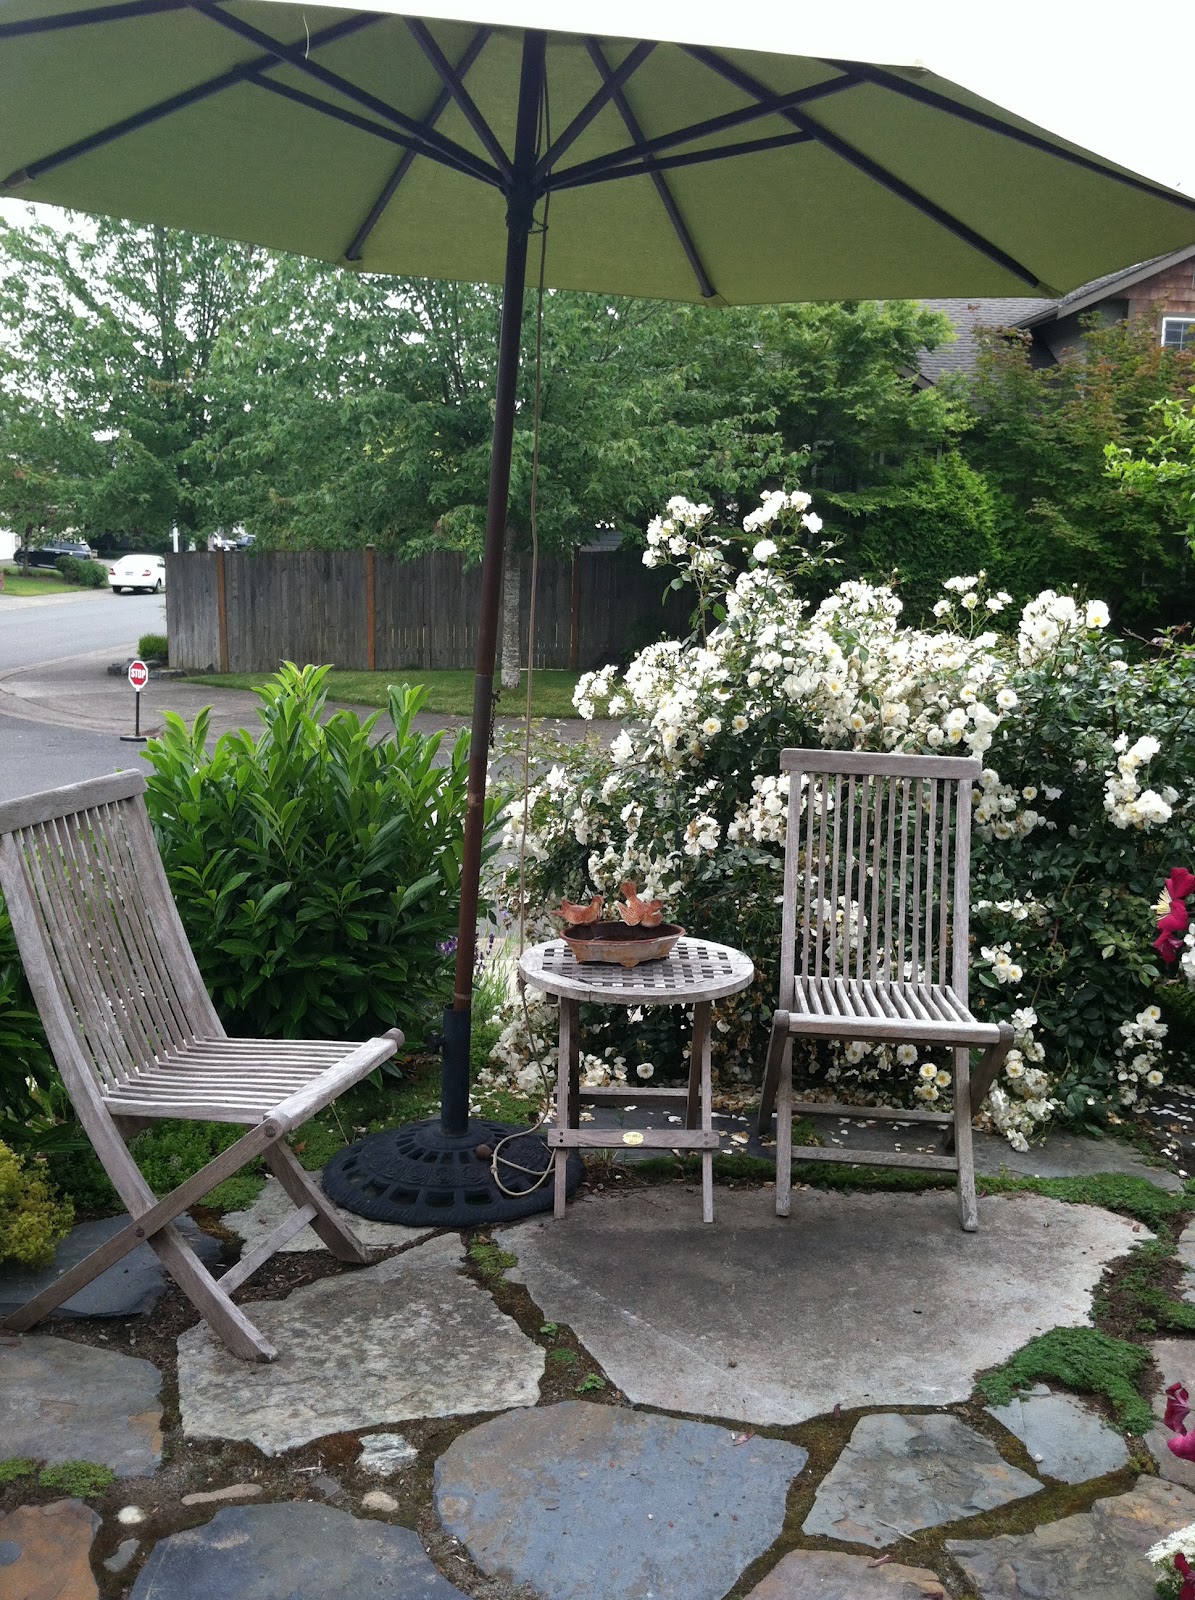
Our little romantic corner for two.

 Also a great spot to keep an eye on the kids while they play. 


The back garden gate. I carefully cut the window out and put in a metal trivet I got from Fred Meyer. The gate handle is a piece of drift wood. 
Our neighbor helped with the trellis. 

The back garden

I always feel every room needs a bit of humor


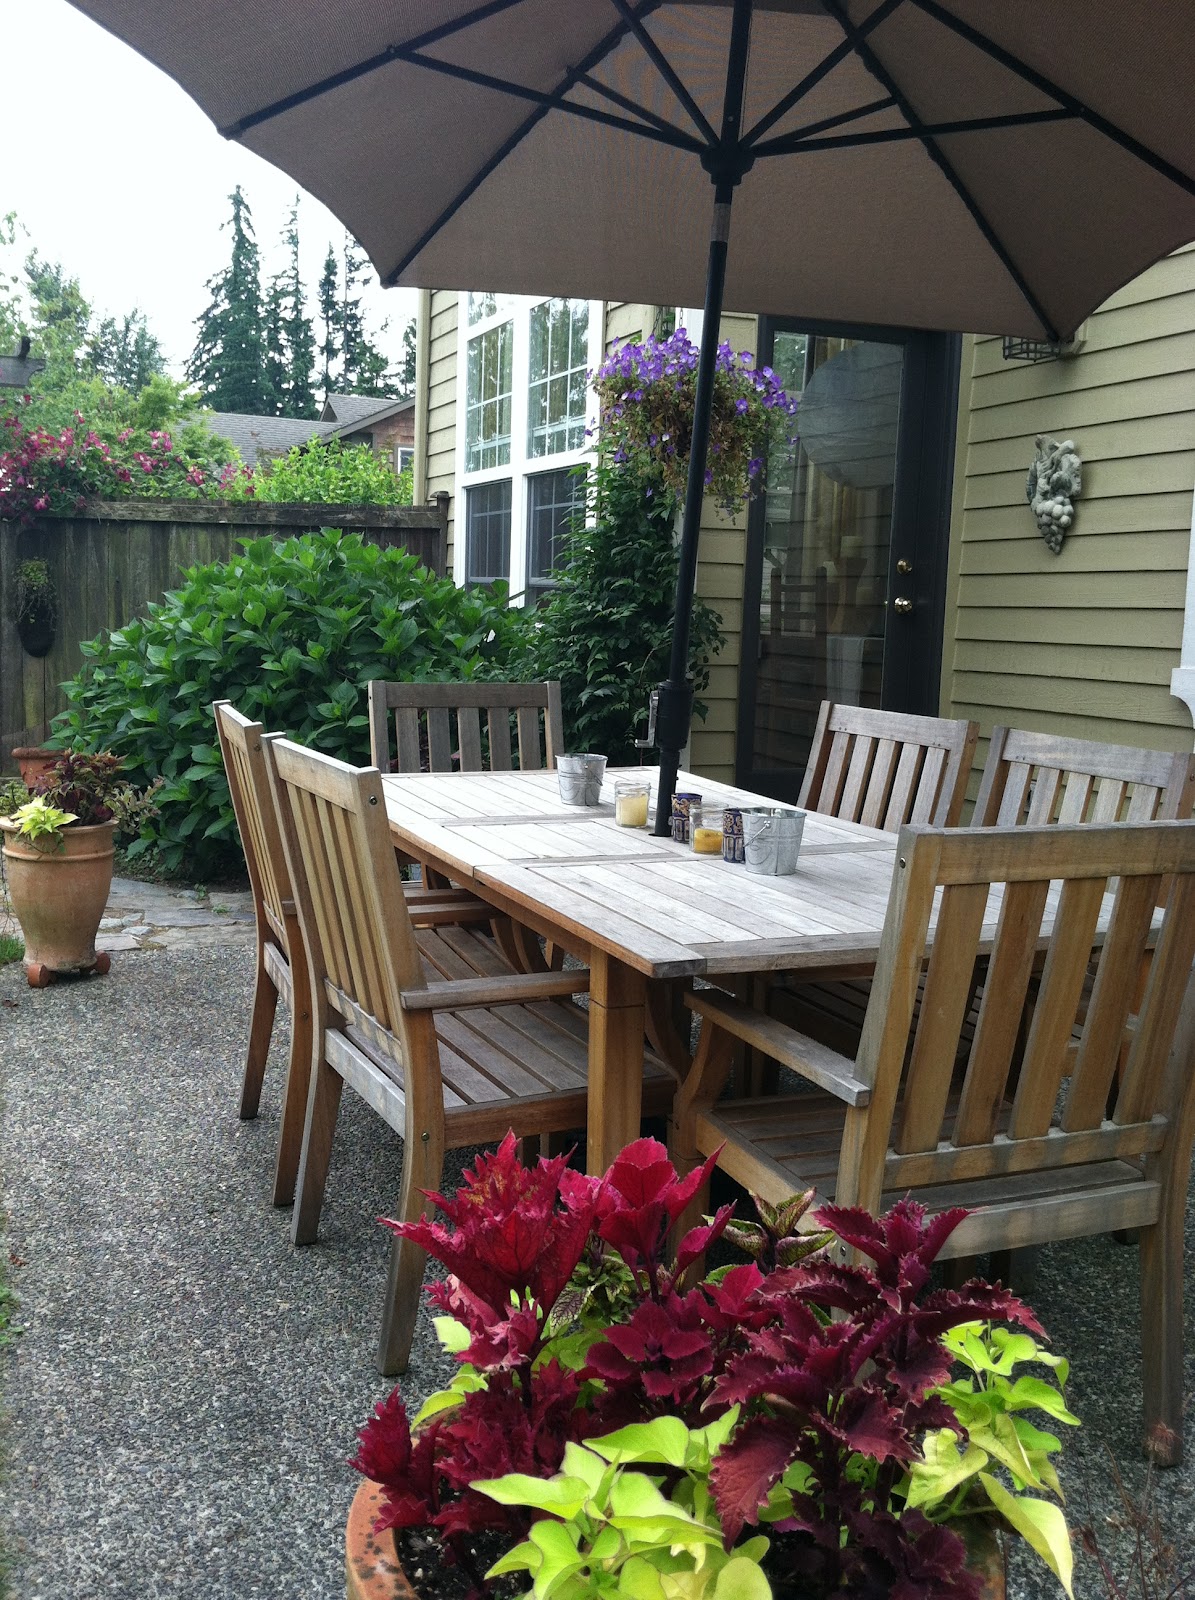
The back patio is always a work in progress. We now have two tables to accommodate all.
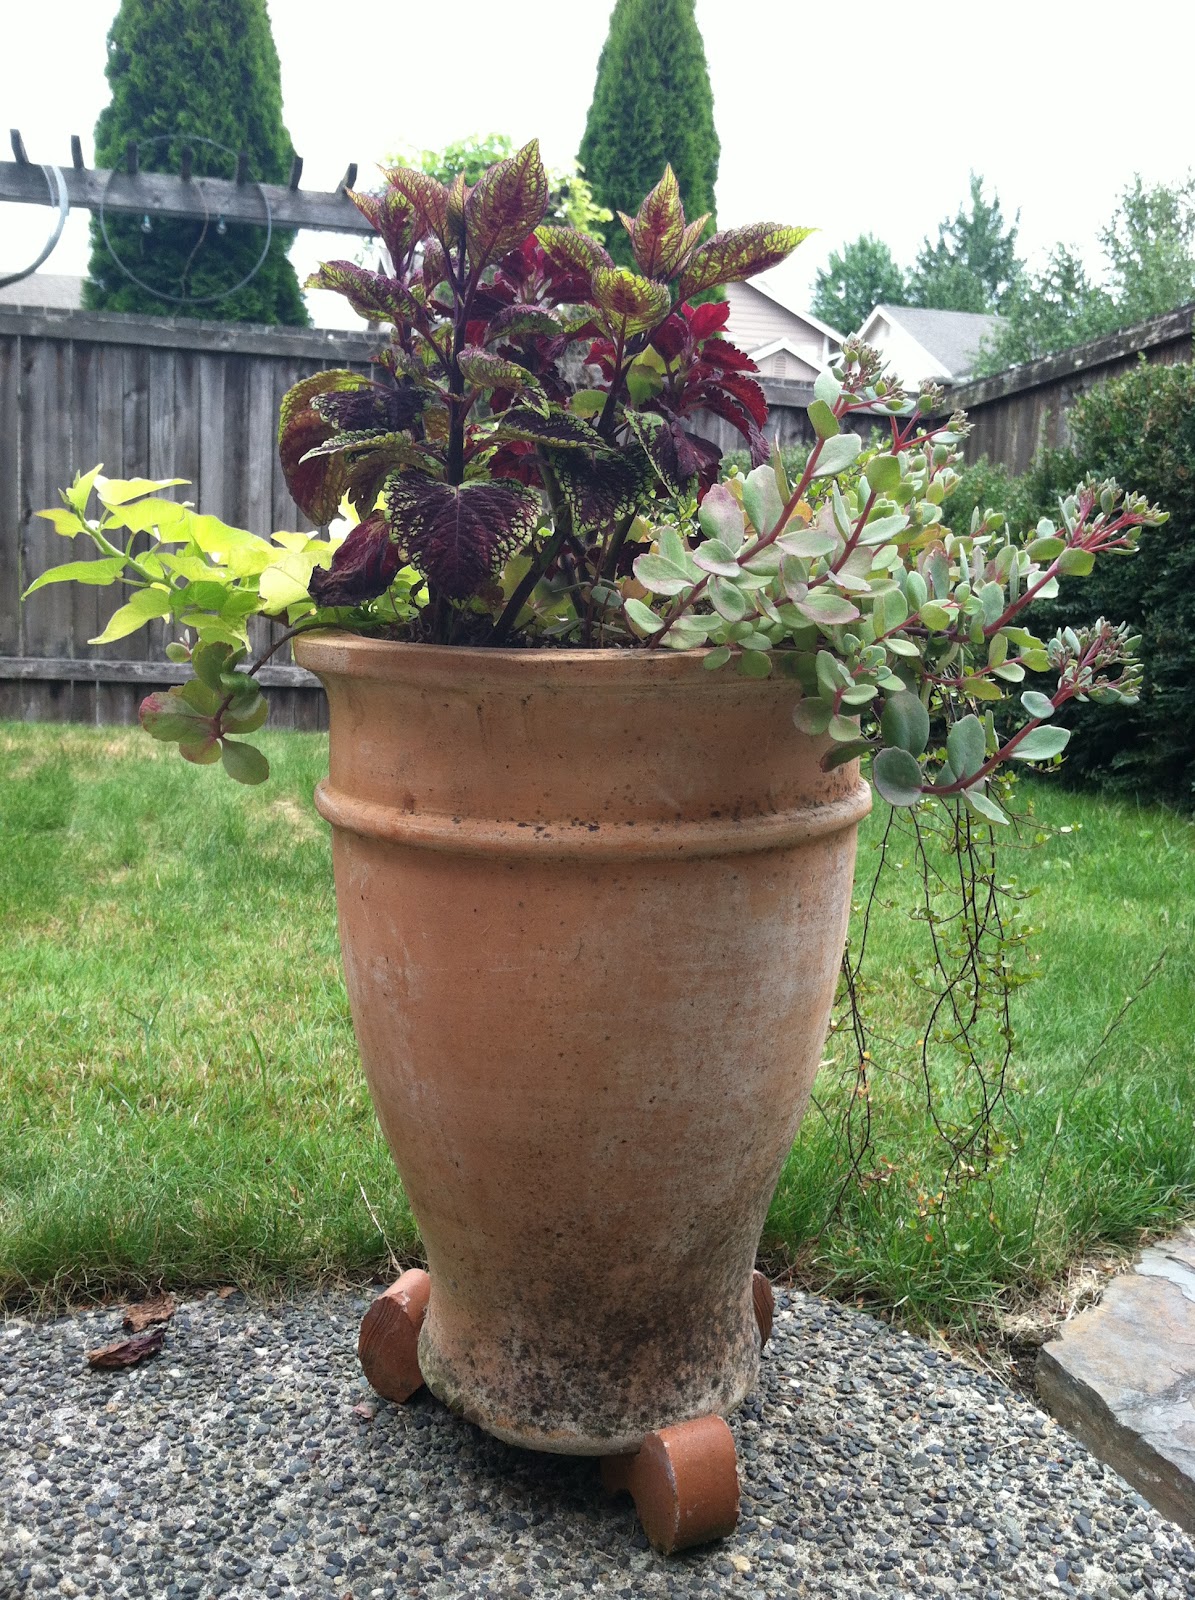
I love over stuffed flower pots. I take pictures of inspiring ones and try to copy them on my own. I find that because we don't have a long warm season in the Seattle area, I need to buy my plants more mature. They aren't as big as I was hoping this year. 


This was my inspiration from Disney World last year. 

Disney Planter


View from the corner


Our door knocker that we bought on our honeymoon in England
Well hope I inspired you and gave you a few ideas for your own. 
 Knock on the door and we"ll have a Mojito in the garden.


Thursday, July 12, 2012

Gents Lavatories

My cute little boys bathroom
I have been so busy not only with three boys and all that entails, but working on updating their bathroom to reflect the young men that they have become. The house was built 14 years ago back then I did some hand painting on the builders white and added cute towels, but never went beyond that. Time to make a change..

The Gents Lavatory!

I decided that I wanted to do bead board around the walls. My tool collection is sad, and I don't have a lot of cash. In fact I'd say my budget to do the bathroom is around $50. I decided to do faux bead board. (Faux the French word for false) I have lots of leftover paint from previous jobs, so that didn't cost anything. I marked off the area to be worked with, took off the back of the toilet and got to work. The lower half of the walls was painted an off white, the upper an avocado green.

Priming my old painting and painting the lower half off white 
 I then cut a squeegee to make the groves in the bead board. I used a white paint mixed with glaze, rolled it on and squeegeed it off in sections. 

Now this was a brilliant idea, except for the fact that my walls are texturized and it wouldn't work. Argghh!

 So I resorted to the old fashion way of using painters tape and hand painting the grooves. It turned out to be a really cool effect and worth the work. 


View of the finished bead board 
 I also decided to make the bathroom window look like a leaded glass window. A little trick that I learned from my aunt and have been using for years. Basically you cut electrical tape in strips and to the desired lengths. It turns out that you can buy faux leading and glass pain,t or even finished products at Michaels and other craft stores. (I wish my Aunt and I had put that out on the market)

My Faux Lead Glass Window
Next up went the chair rail molding to finish off the look. I bought a cheap miter box and learned how to use it. Very proud of myself.
Gloss white woodwork
All the wood work was primed and painted out high gloss white. The old nasty Hollywood strip light, above the sink, was removed and in went a new one from Lowe's. I chose not to add shades but used Edison filament bulbs for a cool hip effect.
My new hip light
Okay, so it's looking really good, and you think I'm done, but no not me, I have to do more. As I was painting the base boards in the linen closet, I felt as if I was in a phone booth.  It would be so cool to have an English Phone booth. Lets do it! The kids can play Harry Potter and what ever else their imagination thinks up. So I painted over that lovely gloss white, with intense red! I tried to buy the paint at the paint store and the staff there told me that I'd have to sand the gloss white off and use oil based paint to get the desired effect. I was totally discouraged, and I hate using oil because of the clean up. I got out my artist acrylics and went to town. No sanding was involved and it cost me $15 in supplies. Here's some photos of the process and the finished product.

Door taped off in blue and red going on 

Door and frame painted red
Top of booth painted


Finished Telephone booth
Booth Detail

Booth Detail 


When all Faux work was done it got a coat of clear high gloss to protect it. I love the way it turned out. Now it just needs a fireman's pole in the closet to take us down to the garage. Well maybe for another house and another project. 

Friday, April 20, 2012

From wine to light


Hi everyone, I wanted to share this fairly simple project. I love french restaurants, the food, the casual bistro feel, and the casual but elegant decor. One of my favorites is Cafe Campagne in the market in downtown Seattle. I love eating at the bar on a date with my husband. It's so romantic. 
Cafe Campagne
Anyhow, they have the prettiest wine bottle lamps made from magnum size bottles. I've always wanted one. Last New Year's Eve we shared a bottle of Washington finest at a friends party and I took the bottle home for "recycling". I found a kit at Lowe's to convert a bottle into a lamp and a nice linen shade. I used a cork as a finial, and voila, I had my lamp. Now I need to drink a magnum of french wine.

My kitchen

Friday, March 30, 2012

Working with needles, hooks, and yarn


I learned how to crochet from the internet, and I'm always looking for something different to try. I'm not the best at following a pattern, because I get distracted and loose my spot. A friend of mine found this cute necklace on Pintrest and asked if I could make it. I looked it up, and it's from a clever girl in Italy and she likes to wing it like I do. She was kind enough to write down her pattern, so if you want it, her blog is called creativeyarn. It's super easy so don't be afraid to try it out, and it doesn't take much yarn. I used a weight number 4, or worsted weight, and a hook G. I'm also using acrylic or a cotton. Acrylic is a bit fuzzy, but I have loads of scrapes to use up. I think they are super cute and am going to keep getting creative with the pattern. It would make a great belt for a dress or a headband.

Revamping instead of Rebuying


I used cotton clothesline from Fred Meyer it was about $4 a package and I need 3/chair
Wrap tight in one direction
The view from the underside should look as good as the view from above

I had these iron bar stools, covered in leather. I thought they would hold up well with three boys. They became increasingly uncomfortable because the leather stretched and holes started appearing. Then somebody fell thru the seat. What to do? I couldn't throw them away, what a waste. I'm not savvy in the leather department, so no recovering with leather. Besides the leather stretched out, and I didn't want to recover them only to have it stretch out again.  So I was looking for inspiration... I have this little child's rocker that's been handed down for four generations. The seat was woven with clothesline by my grandmother. She has since passed on, so she couldn't share her technique, but I figured it out and voila, my grandmother taught me how to weave a seat.
(A bit harder on the cuticles) Now weave three rows at a time, alternating, in the other direction.