Tuesday, July 17, 2012

A Little Garden Inspiration

A bit of Peace
I thought I'd share my garden. Maybe you are a gardener or aspire to be one. Maybe you just enjoy one without the work. 
Hopefully I can inspire. 

 I grew up with a mother who has a passion for gardening. When I was little she drug me to nurseries, iris shows, exhibits at the Solano County Fairgrounds, and various horticulture gardens. I said I'd never garden, but it must of seeped into my pores, because here I am digging in the dirt for peace, and getting excited over how many earthworms I have. 

Little me on the back of mom's Honda


Every year mom and I have a standing date to either the Seattle or Portland garden show. Coffee in hand we walk the isles getting inspired. I now drag my children to gardens pointing out the beauty and naming the plants. I hope you enjoy and maybe find a little inspiration in my first garden.


My hand painted welcome rock. I used a sharpie and my best writing. Drift wood from camp last year.


Zinc containers by the front door hold Lavender and Rosemary

I have lots of herbs planted in and around the plants. Oregano, chives, and thyme grow like weeds. I squeeze in a tomato or two and a wine barrel full of mint for mojitos. 


Let me take you down the garden path...


Mostly a bit of humor directed at my mother.


An old chair turned into a planter


My husband and I dug every hole and laid every stone. We are quite proud of how our garden path turned out.

Don't piss off the Fairies!
A handmade gift from my mom.


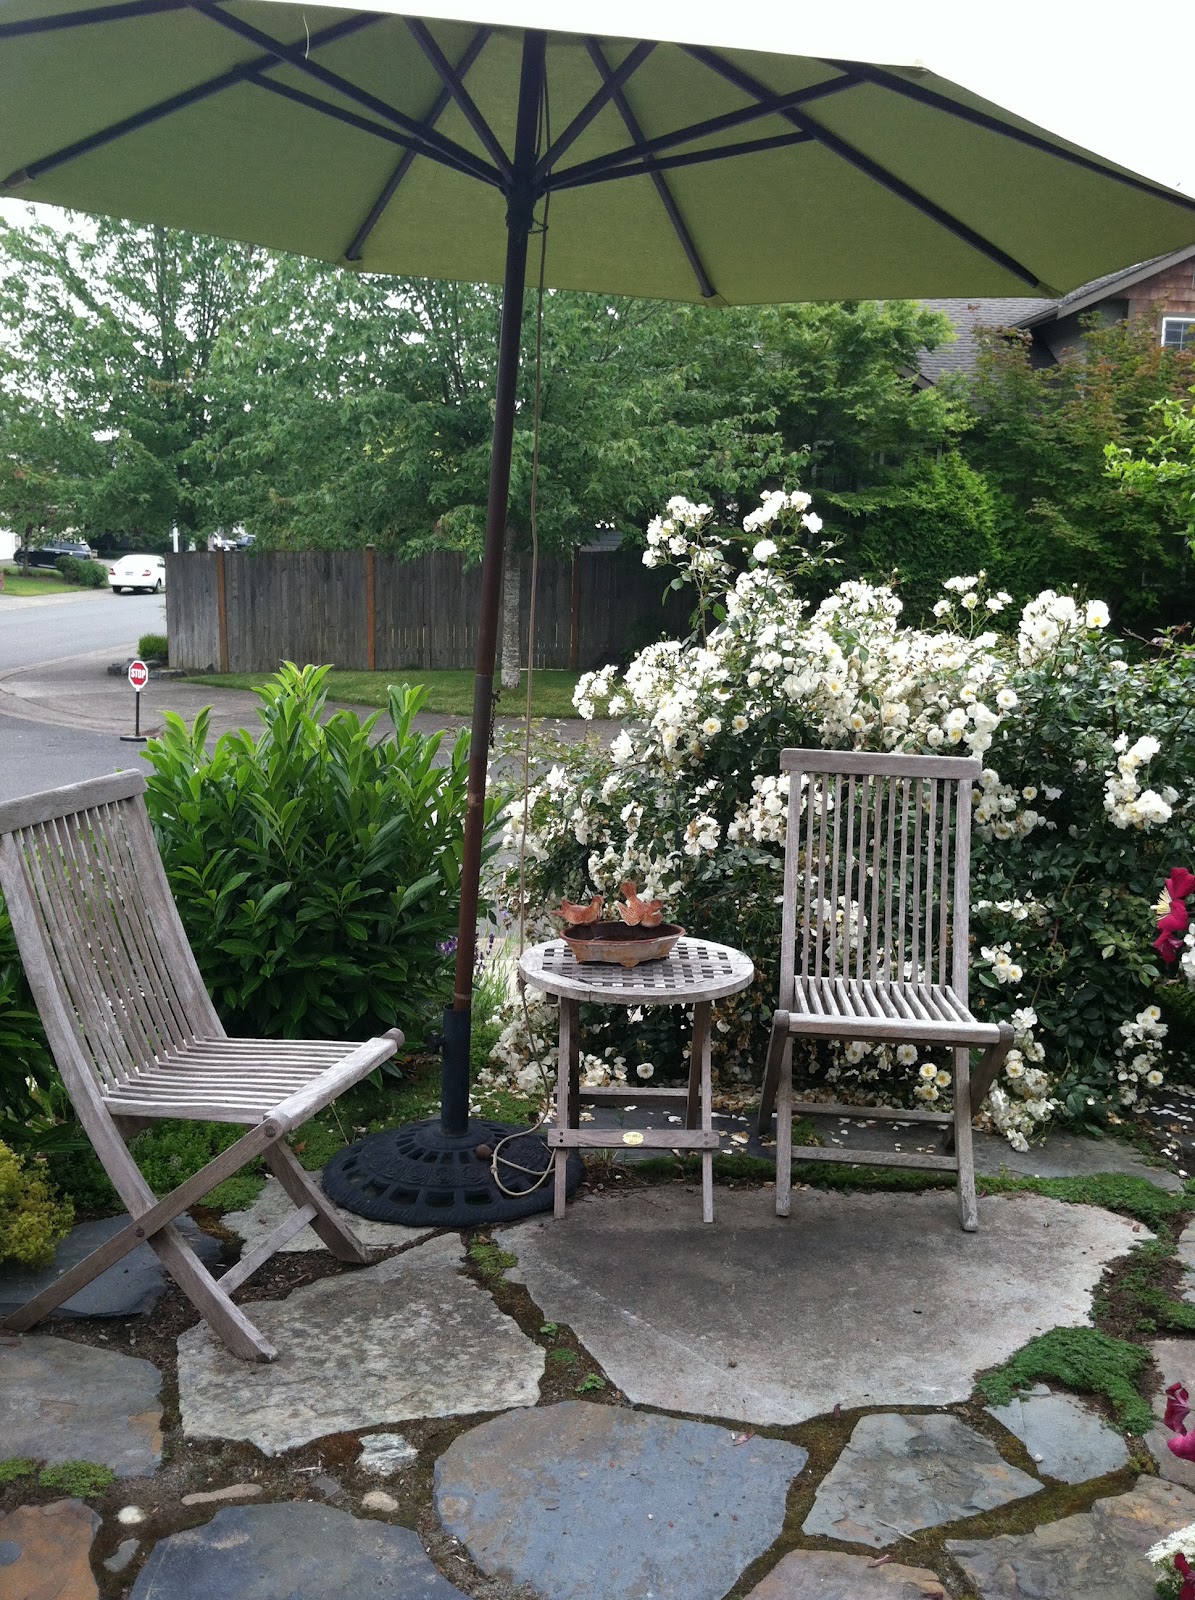
Our little romantic corner for two.

 Also a great spot to keep an eye on the kids while they play. 


The back garden gate. I carefully cut the window out and put in a metal trivet I got from Fred Meyer. The gate handle is a piece of drift wood. 
Our neighbor helped with the trellis. 

The back garden

I always feel every room needs a bit of humor


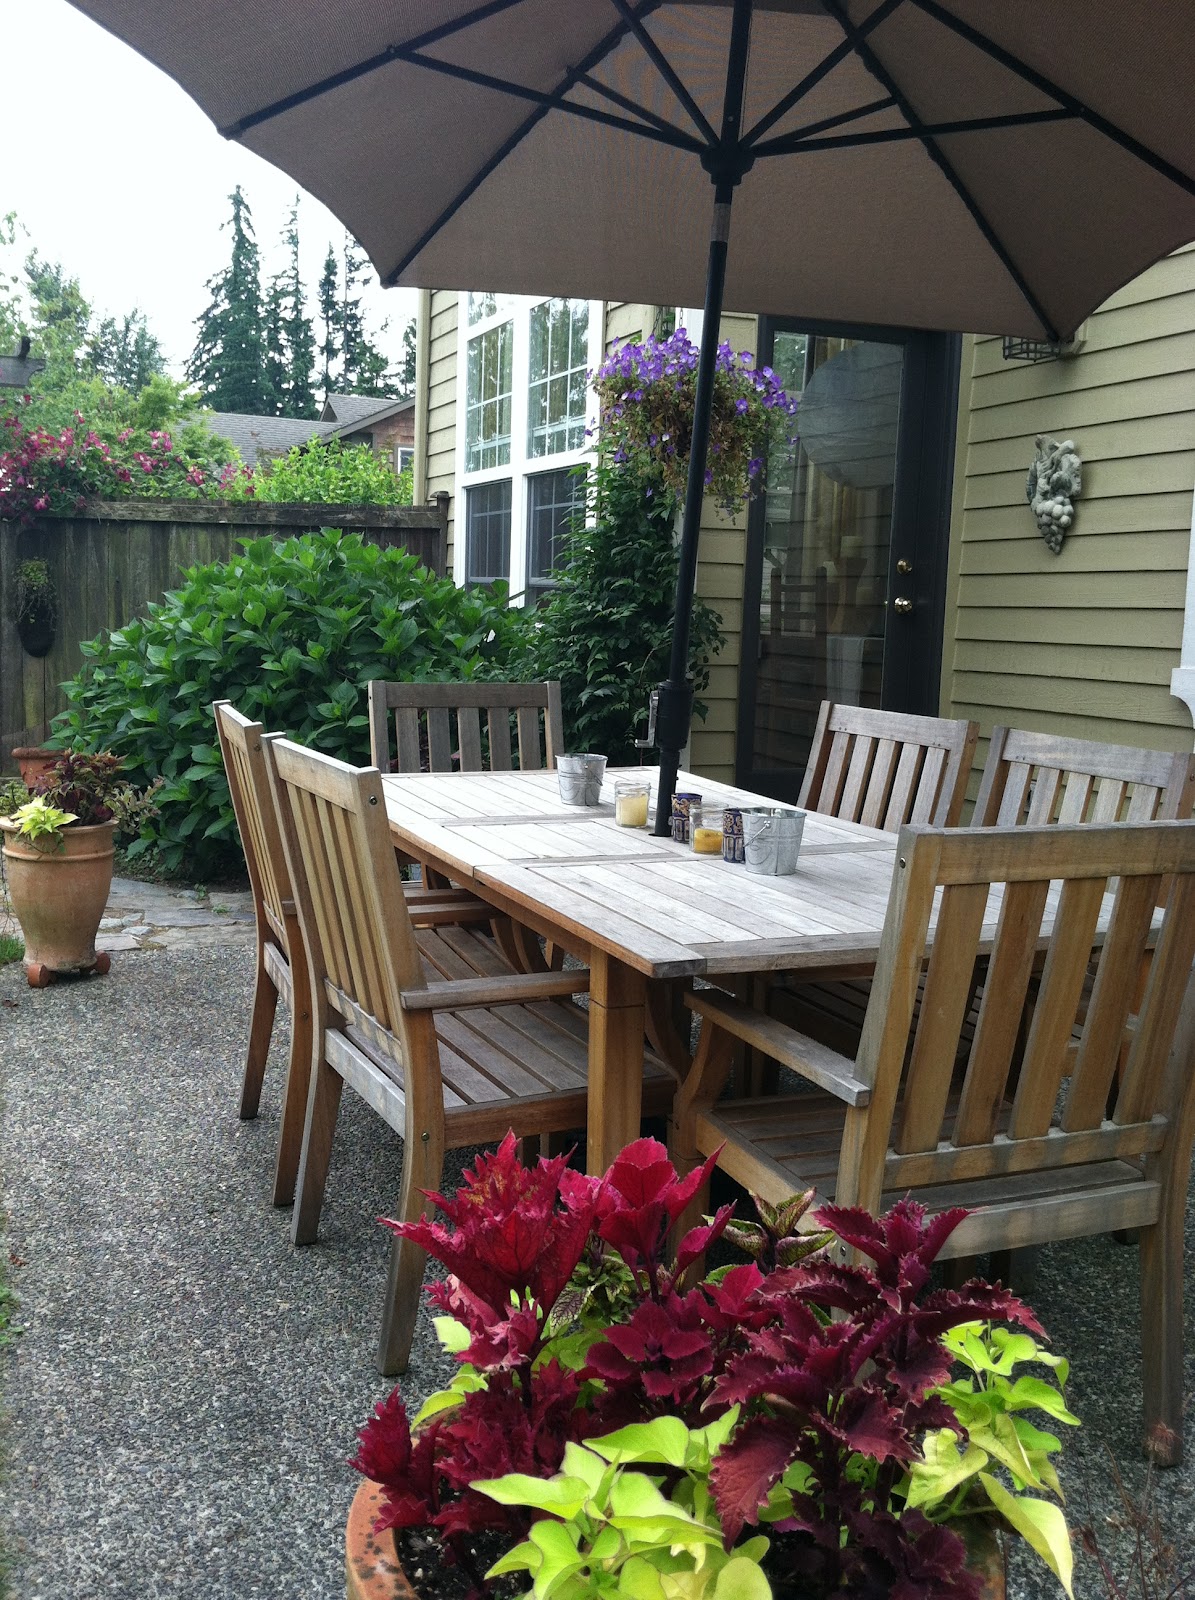
The back patio is always a work in progress. We now have two tables to accommodate all.
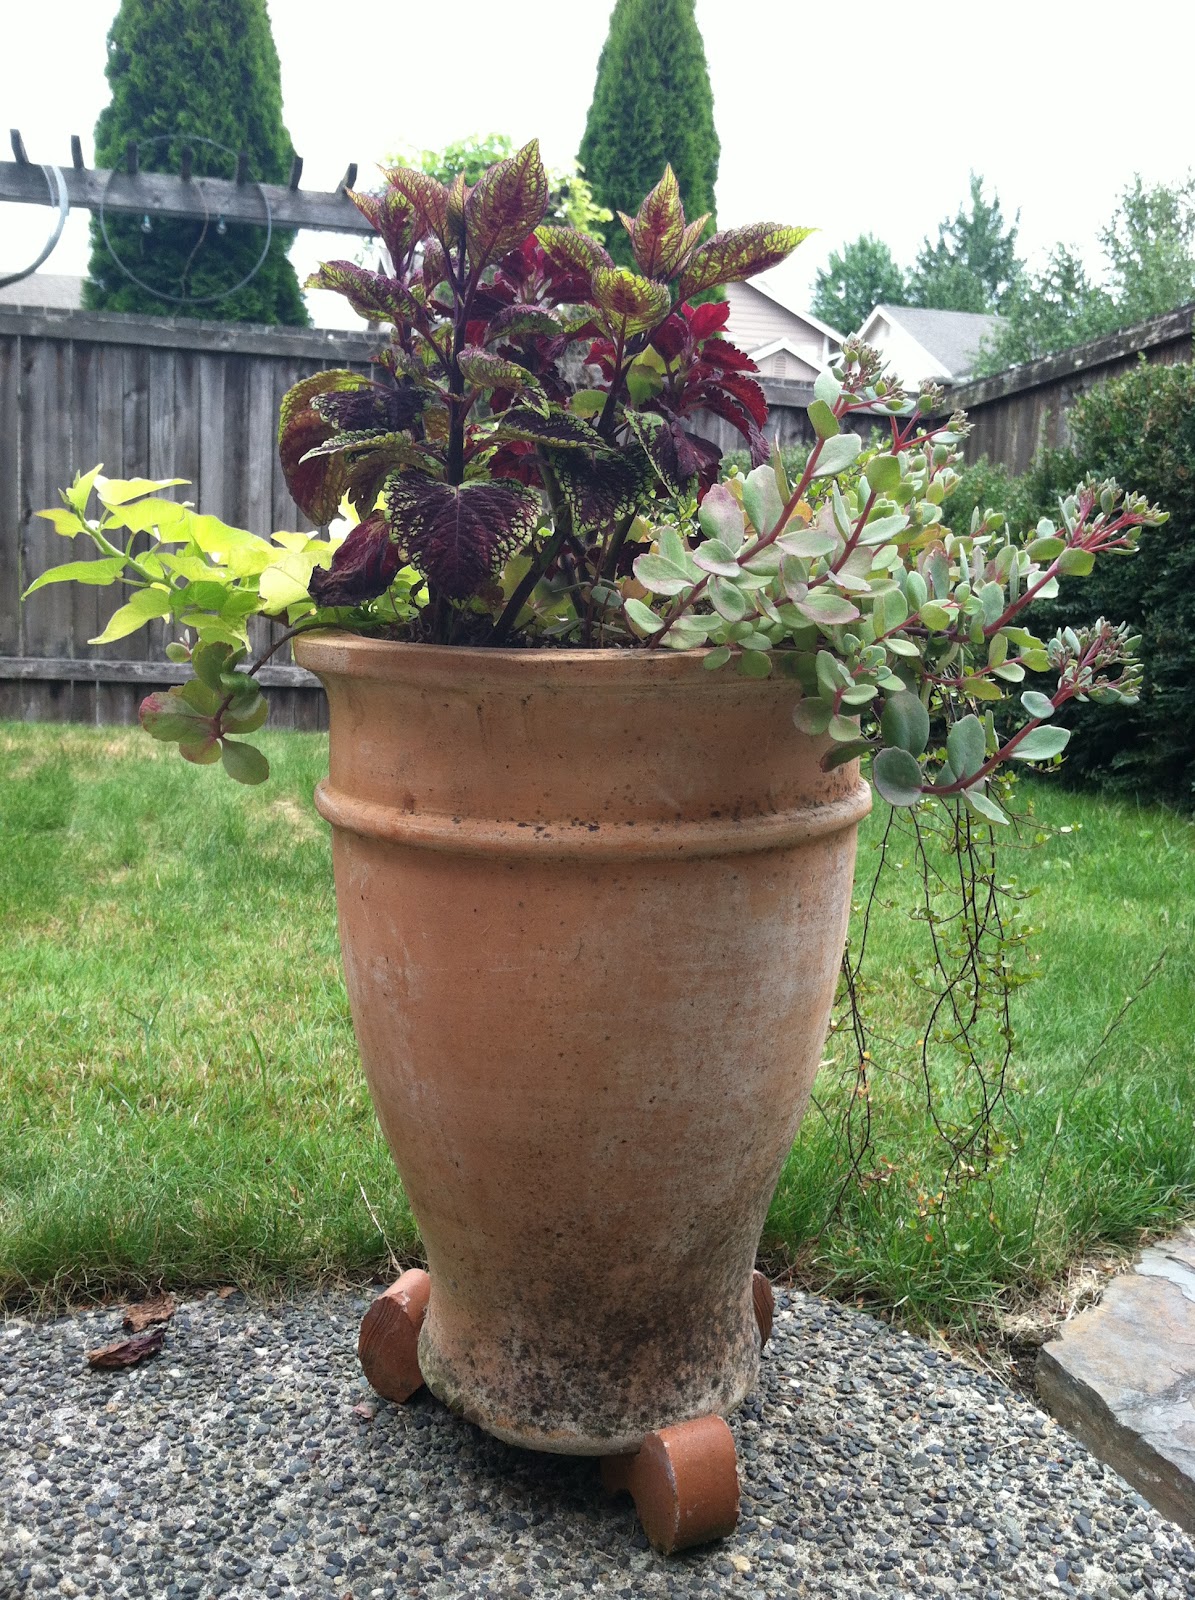
I love over stuffed flower pots. I take pictures of inspiring ones and try to copy them on my own. I find that because we don't have a long warm season in the Seattle area, I need to buy my plants more mature. They aren't as big as I was hoping this year. 


This was my inspiration from Disney World last year. 

Disney Planter


View from the corner


Our door knocker that we bought on our honeymoon in England
Well hope I inspired you and gave you a few ideas for your own. 
 Knock on the door and we"ll have a Mojito in the garden.


Thursday, July 12, 2012

Gents Lavatories

My cute little boys bathroom
I have been so busy not only with three boys and all that entails, but working on updating their bathroom to reflect the young men that they have become. The house was built 14 years ago back then I did some hand painting on the builders white and added cute towels, but never went beyond that. Time to make a change..

The Gents Lavatory!

I decided that I wanted to do bead board around the walls. My tool collection is sad, and I don't have a lot of cash. In fact I'd say my budget to do the bathroom is around $50. I decided to do faux bead board. (Faux the French word for false) I have lots of leftover paint from previous jobs, so that didn't cost anything. I marked off the area to be worked with, took off the back of the toilet and got to work. The lower half of the walls was painted an off white, the upper an avocado green.

Priming my old painting and painting the lower half off white 
 I then cut a squeegee to make the groves in the bead board. I used a white paint mixed with glaze, rolled it on and squeegeed it off in sections. 

Now this was a brilliant idea, except for the fact that my walls are texturized and it wouldn't work. Argghh!

 So I resorted to the old fashion way of using painters tape and hand painting the grooves. It turned out to be a really cool effect and worth the work. 


View of the finished bead board 
 I also decided to make the bathroom window look like a leaded glass window. A little trick that I learned from my aunt and have been using for years. Basically you cut electrical tape in strips and to the desired lengths. It turns out that you can buy faux leading and glass pain,t or even finished products at Michaels and other craft stores. (I wish my Aunt and I had put that out on the market)

My Faux Lead Glass Window
Next up went the chair rail molding to finish off the look. I bought a cheap miter box and learned how to use it. Very proud of myself.
Gloss white woodwork
All the wood work was primed and painted out high gloss white. The old nasty Hollywood strip light, above the sink, was removed and in went a new one from Lowe's. I chose not to add shades but used Edison filament bulbs for a cool hip effect.
My new hip light
Okay, so it's looking really good, and you think I'm done, but no not me, I have to do more. As I was painting the base boards in the linen closet, I felt as if I was in a phone booth.  It would be so cool to have an English Phone booth. Lets do it! The kids can play Harry Potter and what ever else their imagination thinks up. So I painted over that lovely gloss white, with intense red! I tried to buy the paint at the paint store and the staff there told me that I'd have to sand the gloss white off and use oil based paint to get the desired effect. I was totally discouraged, and I hate using oil because of the clean up. I got out my artist acrylics and went to town. No sanding was involved and it cost me $15 in supplies. Here's some photos of the process and the finished product.

Door taped off in blue and red going on 

Door and frame painted red
Top of booth painted


Finished Telephone booth
Booth Detail

Booth Detail 


When all Faux work was done it got a coat of clear high gloss to protect it. I love the way it turned out. Now it just needs a fireman's pole in the closet to take us down to the garage. Well maybe for another house and another project.